Maintaining the textured bathroom wall tiles in proper shape might seem like a nuisance. But it is critical to tidy every area regularly, or it will quickly lose its luster. So everyone should be careful about how to clean textured bathroom wall tiles from the very beginning.
As I have textured tiles in my bathroom’s wall I have to maintain many issues on this. The tiles among the core aspects might start to appear a bit dingy at first but it can be so tough to fix if you have neglected this for a long time. But nothing to be worried about. It doesn’t need reconstruction, it is the moment of deep cleaning.
In this article, I will share my all experiences related to cleaning the textured bathroom wall tiles so that it will help any user who is new to this thing.
10 Steps To Clean Textured Bathroom Wall Tiles: The Easiest Way
A scrubber is the finest idea for cleaning textured tile walls. If you are not acquainted, it is indeed a piece of cleaning equipment that utilizes heated air to draw debris off the wall around on a velour patch while cleansing at the same moment.
Perhaps not pottery, enamel, and engineered stone walls may be heat wiped, and parquet, acrylic, cement, and, in certain situations, laminate wood. On bumpy tiles, mostly all vapor scrubbers may be utilized. These do not necessitate the use of pesticides.
My old house had colored concrete walls that looked like textured tiles. Whenever I attempted to damp brush the wall, I received terrible results since the cleansers left an unattractive layer.
The moist brush merely appeared to spread the dust about. My bathroom walls became considerably easier to manage once I converted to the heat approach described below.
Step 1- Clean Scattered Debris:
Cleansing the walls with a vacuum cleaner is a good starting point. This will clean the area of dirt, fuzz, and grime. Whether there is scattered debris on the wall’s base, the scrubber will not operate as effectively. Whenever users will not have enough time to vacuum, brush that area instead.
Step 2- With The Steam Mop, Place The Microfiber Controller:
Replace the mat in the steam mop. These foldable microfiber controllers are easily cleanable. 1 to 3 patches are included with many vapor mops. Even during the washing procedure, one may need to replace the pads regularly, depending on how dusty the wall is. I discovered that a pad could wash a big space or several tiny ones in most cases.
Step 3- Clean The Wall Using A Vapor Mop:
It is the moment to tidy now! Begin washing solely on a single wall and work your way to another. Use socks to avoid walking onto areas of the ground that have not been washed lately. Keep in mind that if you leave the equipment inside one spot for much too long.
The extreme temps might conceivably harm as well as break the tiles. But I am not aware of this occurring in practice. When you go back, gently and consistently sweep the brush across from you.
Step 4- Allow the wall To Dry:
After wiping, let three to five minutes therefore for walls to settle. It will not take much time for the wall to dry because there isn’t much wetness leftover upon that. During this stage, the wall is spotless, as well as the heat has cleaned it to a certain extent (depends on how steamed the wall got in the time of cleansing).
Step 5- Seal It Properly:
The next stage is not mandatory and will be determined through your tastes as well as the style of tiles you use. When the wall is spotless, one may cover that one with a wet acrylic sealer, which sets to a firm, polished finish. I enjoyed the shiny impact of the project on the tiled walls.
But I would not ever see it on taupe walls and ceilings or crumbled marble tile. I typically applied for ZEP goods. Comparable components are manufactured by Bella and Rapid Sparkle, although they do not even appear to become as widely accessible in large sizes as ZEP.
For use, purchase a flat-headed massive velour brush. The Swiffer-style brush will be difficult to maneuver. Fill a tiny garden sprayer halfway with wall polish and spray a little quantity onto a completely clean wall.
Users will not be capable of walking on the freshly applied varnish till it has dried. So you have to think accordingly. Apply a light coating of varnish uniformly across the area with the fiber mop. Make sure there are wet places or puddles. Allow fifteen minutes for the wall to settle before moving forward.
Step 6- Brush Or Use Ventilation System:
Get rid of any rubber mulch. Trashes can be swept or vacuumed from the wall. Mop the walls with a light brush in 2 different directions. To guarantee a complete washing, take the route of the tiles initially. After that, sweep horizontally. You’ll need to apply a remediation solution if you’ve originally applied ceramic sealant or shine to unclean tiles or grouting before good cleansing.
Step 7: Form A Mixture Using Baking Soda:
Place a packet of baking soda in a mixing dish, then add quite enough liquid to make a thick mixture.
Step 8: Use Some Baking Soda And Rub It:
Rub the mixture through into the surface with a portable scrubber tool with reasonably soft padding, concentrating on any apparent discoloration and grouting.
Step 9- Prepare A Vinegar Mixture:
Combine a half-half solution of purified vinegar and water inside a plastic container whereas the bicarbonate soda paste is working. It should be sprayed freely well over the mixture of bicarbonate soda-covered surfaces.
That base within the vinegar can interact with the acidic bicarbonate of soda solution. Because it will create bubbles. Stir a little more, and set the solution aside for 5 – 6 minutes.
Step 10- Using A Wet Brush, Rinse:
It is necessary to rinse the wall. Get a brush, then pour a fresh bowl with water. Assure that your brush bristles are clean, otherwise, you’ll only be re-contaminating the surface.
Wipe all of the baking soda and leavening agents from the wall using a damp brush. Rinse and dry the brush frequently in the container. Ditch the excess moisture and replace the container with new water immediately since it gets noticeably soiled.
Related Questions About Textured Bathroom Wall Tiles Cleaning:
Are Textured Bathroom Wall Tiles Hard To Clean?
Although glossy tile is so smooth, at the same time it is simpler to wash. You just should wipe it down with a mop or a broom to remove all of the filth and grime from the wall. Slick tile is ideal for worktops and many more places because of this.
Because of all the cracks and crevices, textured tiled walls are somewhat more difficult to keep clean. The more abrasive the tiles, the more difficult it is to scrub. To remove every crack and crevice, you will need bristles brushes.
While textured tile is more difficult to maintain, it conceals dust more than polished walls. Coarse tile does not show filth or deterioration in the very same path that glossy tiles do. The texture creates shades that merge the dust and debris into the background. That implies users won’t have to scrub the tiles as frequently to maintain their appearance.
Obviously, for others, it may be a disadvantage. Although users might not have been able to see the dust, realizing it is present could be unpleasant.
How Long Does It Take To Clean A Textured Bathroom Wall Tiles?
Cleaning the textured bathroom wall tiles generally does not take too long. Whenever users cleanse it on a constant schedule, this should take 15 to 20 minutes. Assume that users desire a fresh and smooth bathroom in the house at all times then the user should wash it once a week. As a result, the debris may not be retrieved.
However, cleaning it twice per month may take 30 to 45 minutes due to the higher filth. As a result, it’s safe to say that the time is entirely dependent on the user. Maybe once every month, many people wash the entire bathroom. This isn’t something I would advocate.
If a person does so, he would be unable to manage the bathroom’s cleanliness, and an unsanitary bathroom is never appreciated.
How Much Does It Cost To Clean The Textured Bathroom Wall Tiles:
The instruments for cleaning the textured bathroom wall tiles are not very costly. You may get a relatively expensive version so it lasts much longer and you don’t have to purchase the same items over and over. At the very least, you’ll be allowed to utilize them for 2-3 months. Below is a list of the pricing ranges:
| Product Name | Price |
| Steam Mop | 5$-10$ |
| Brush | 3$-5$ |
| Sponge | 3$-5$ |
| Vinegar | 5$-8$ |
| Baking Soda | 3$-5$ |
How Do You Clean Rough Textured Bathroom Wall Tiles?
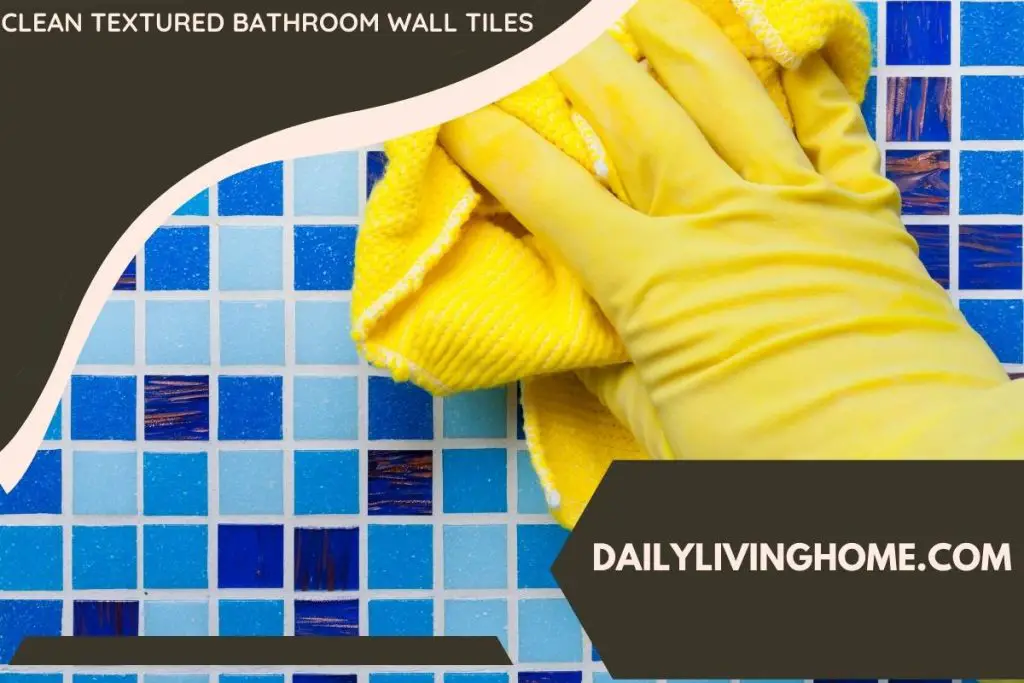
In my bathroom wall, I have rough textured tile that was placed around 2 years back. I suspect areas of it contain detergent residue and other accumulation. It is a mottled blue that ranges from virtually light to dark indigo.
I have recently refurbished almost all of the house. I noticed that the tile inside the previous bathroom appears a little yellowish in places due to its painted walls. I like the textured aesthetic, but it’s more difficult to maintain tidy because those tiles are rough instead of polished.
- Mostly in prior, we have only used Gentle Cleanser or Tilex inside the bathtub’s wall. But I believe that was a miscalculation. I would be interested in hearing about the finest ways to clean tough textured tile.
- The rough textured wall should be cleaned with vinegar and baking soda mixture.
- As we know vinegar and baking soda mixture can easily remove the dirt, we can apply these things with a sponge or mop in the wall.
- We should be careful when we apply it. Because we can not use water while applying.
- After leaving it for a few moments, we can clean it with normal temperature water.
4 Tips To Maintenance Of Textured Bathroom Wall Tiles:
Maintaining the textured bathroom wall is not that tough. If a user maintains it regularly, it will be so easy for him to clean later. The tips are described below:
1. Mop After Use:
After using the bathroom try to mop the whole bathroom including the walls. Because then your walls will be saved from hard water stains. As we all know, hard water stains are very difficult to remove.
2. Clean The Dust:
Try to clean the dust after 2-3days from the walls and ceiling of the bathroom. It is so beneficial to asthmatic patients. Because this dust can be harmful to their health as well as it can be unhygienic too.
3. At Least Wash Twice A Month:
A user should clean the whole bathroom including the walls at least twice or thrice a month. Only then it will not take too long to clean it. At the same time, the bathroom will remain clean and fresh all the time.
4. Teach Your Bathroom Etiquettes:
Children should know how to use a bathroom and how to keep it neat and clean. It is a very important part, as they make more dirt on a place unintentionally. They should know at least the basics, like how to keep the walls, commode, basin clean.
Conclusion:
If the tiles are textured, scrubbing bathroom wall tile becomes even more difficult because of the roughness with which dust might lie. Users can pay for a commercial cleaning service to wash the walls. But that would be a waste of time and money.
So, in this article, I have included all tips and tricks about how to clean the textured bathroom wall tiles with the solution of other queries too. Only some common home items will be needed to clean the textured tiles of the bathroom walls.